Have you ever wondered what it takes to be a successful long range shooter?
Have you ever wondered what it takes to be a successful long range shooter?
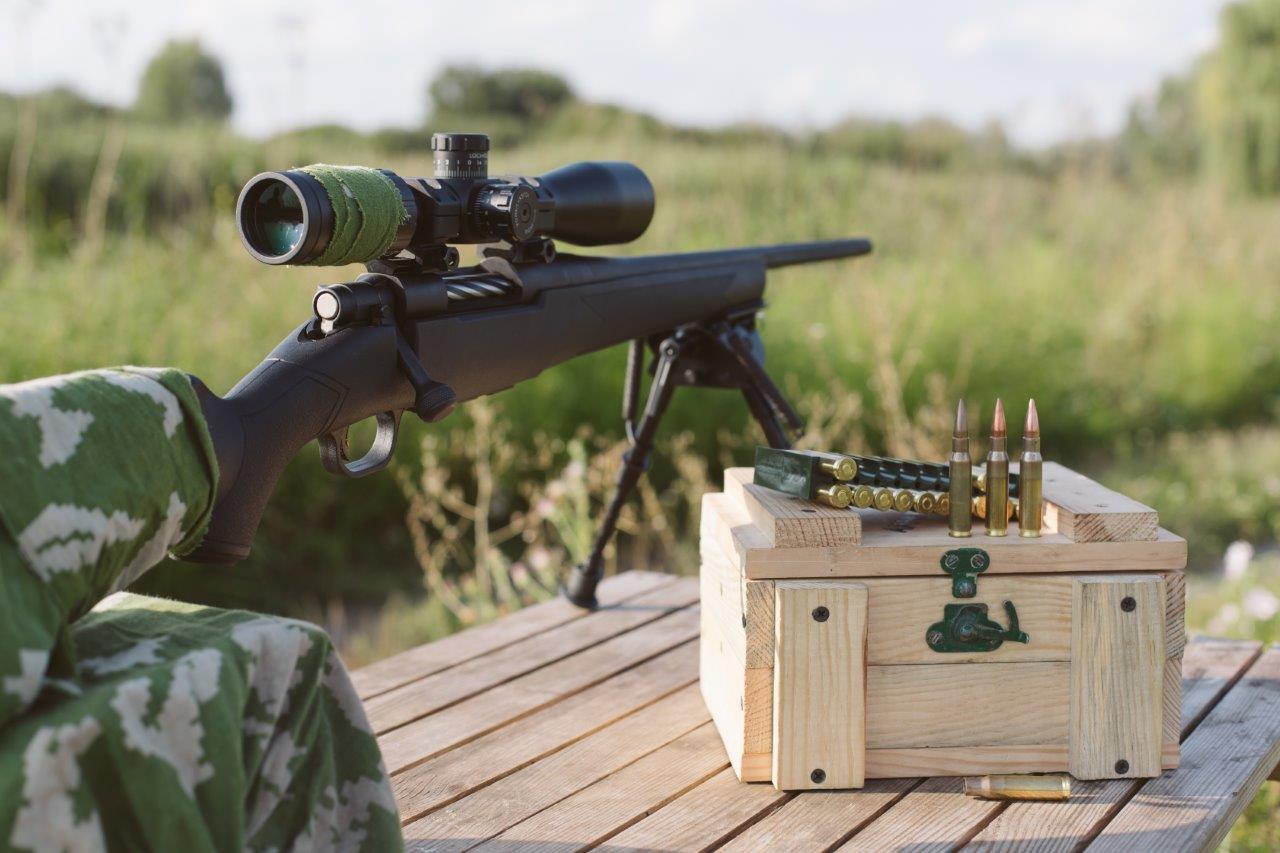
Most people would think that to be a successful and competitive long range shooter you need the best equipment that has proven to be accurate and repeatable at the range you intend to shoot. Typically this equipment would include a modern chassis style long range dedicated rifle such as a Savage FTR, Savage 10 RS, Evolution, Ruger Precision Rifle, or a Bergara LRP Evite, chambered in one of the proven successful long range cartridges such as 300 Winchester Magnum, 6.5 x 284 Norma, 6.5 PC, or 6.5 Creedmore, an excellent optical sighting device such as a Vortex Razor, Nightforce ATACR, or Levpold Mark 8, wind flags so that you can dope out the wind between you and the target, an absolutely rock solid, stable shooting bench and gun support system such as the Hyskore 30207 Rapid Fire Precision Rest https://hyskore.com/products/30207-rapid-fire-precision-shooting-rest/. And if you are shooting F class you would need an appropriate shooting mat since you will be lying prone on the ground. If you have a rig that has the various afore mentioned components, and you finally get to the range set up your shooting at, for example, 600 yards and then find out that the sub MOA group you intended to shoot looks more like a 30” double O buckshot pattern, you need to go back to the drawing board because there are other steps that must be taken prior to achieving the desired result.
The first step, of course, is to make sure the equipment has been properly assembled and calculated. The most important piece of equipment that must be adjusted absolutely correctly is the sighting device. If the sighting device is improperly mounted or improperly used, all bets are off, and you stand absolutely no chance of achieving your goal. The first thing to do is make sure that the rings that are holding the scope are parallel and concentric along the axis that runs through the center of both rings. This is accomplished by the use of a ring alignment tool, which basically is two pieces of round steel bar that are the same diameter as the scope, and have points on one end. One tool is put into each ring so that the points meet and the rings are tightened. In the tightening process, if the rings diverge from being spot on (the points of the tool will not be touching each other) you have a ring alignment problem that needs to be corrected. This is usually accomplished by slightly torqueing the one ring so that it aligns correctly with the other ring. The reason this is important is that once the scope is tightened into place, if the rings are not aligned perfectly, there will be torsional pressure at some point on the scope and this can influence the adjustments inside the tube.
The next step is to make sure the gun is properly sighted in. Sighting in a gun is neither magic nor rocket science. To do it properly you just need a basic understanding of physics and math and everything else will fall into place. The first thing you need to understand is the principle of near zero and far zero. The line of sight through the scope to the target is, of course, a perfectly straight line. The path of the bullet, on the other hand, forms a parabola as it rises from the muzzle, crosses the line of sight, then descends, and crosses the line of sight further down range. The first point where this takes place is the near zero the far point is the far zero. The important data here is the near zero. Typically with a scope mounted with the center axis 1.5 inches above the center axis of the bore, and with a gun shooting between 2,700 and 3,000 ft. per second, the near zero is roughly 25-27 yards from the muzzle. You can run this experiment dozens of times with a dozen different guns and a dozen different loadings and you will find out that this is universally true. The only thing that will change this is the distance between the center of the bore and the center of the scope. Now you need to sight in your gun at that 25 yard range. The idea of having a target only 25 yards away is to get on the paper. Once you are on the paper it is easy to adjust the point of impact to dead center. Since the bullet will still be rising at the point where it hits the target, at various points down range it will print higher until it begins the downward side of its trajectory. If you are dead center on the target at 25 yards then it is easy to make the adjustments going down range. Assuming you have a ballistics table or ballistics calculator so that you know the downrange performance of this particular bullet, it is relatively easy to make a calculation for the elevation adjustment at 600 yards or any range closer or farther.
Now that we have this done, it is time to move onto other issues. Since it is always better to do your sighting in initially at a closer range so you can see where the bullet impacts, set up on a bench, the ideal rest to use is the Hyskore 30275 Dual Damper Machine Rest https://hyskore.com/products/30275-dual-damper-shooting-and-sighting-rest/. This is an incredibly repeatable device. With the gun solidly anchored in this sighting rest and the rest solidly anchored to a bench that doesn’t move you should be able to print some fairly small groups. The objective is to print a small group at 1,000 yards. It doesn’t matter if you are sighting in at 100 yards or you have already dialed in your calculations for 600 yards, the objective is to print the smallest group in the center of the target. Once that’s done it is time to move onto the 600 yard range. Set up your target, get your gun set up, and here again using the Hyskore 30275 Dual Damper Machine Rest it is simply a matter of removing the butt strap and now you can fire directly off your shoulder. Needless to say, you will need a good spotting scope or some type of down range spotting ability to see exactly where the bullets hit. The key elements that you have to master at this point are cheek weld, eye center, breathing, and trigger pull. Each one of these is pretty much a separate in depth topic. However, briefly, eye center means that the image in the scope is such that when you look in it, it fills the entire circle in the rear of the scope, in other words, no black around the edges. Cheek weld means that you put your cheek against the stock of the gun at exactly the same point each time. This will help to avoid any instances of parallax or inadvertently moving the point of aim even though the gun may be sighted in. Then we get to trigger pull. Trigger pull needs to be done smoothly and straight back. In other words, the first joint of your trigger finger needs to move in a straight line front to back to properly depress the trigger. The trigger needs to be depressed slowly and methodically so that it breaks cleanly and the shot goes off without the shooter flinching i.e. anticipating the recoil and reacting to it in advance. Finally we get down to breathing. Typically the best shooters take numerous deep breaths prior to making their shot, and slowly exhale as they are pressing down on the trigger to make the shot. This tends to reduce any motion created by breathing. These are the general guide lines for making an accurate and repeatable long shot.
No Comment