How to Build an Inexpensive and Easy to Assemble DIY Target Stand
Pretty much everything you need for this project you should be able to find at your local hardware store, Menard’s, Lowe’s, or Home Depot as they have pretty much everything you need. You’ll want one 2×4 for each stand and then two 2×3’s for the posts because they’re a bit cheaper than the 2×4’s and they’re a bit lighter, which is why it’s better to use them for the posts and not for the base. But use a 2×4 for the base because it’s a bit heavier, more durable and it’s not going to be something you replace, it will be a permanent fixture for the target stand.
You’ll also need screws, 2 ½” would be perfect. You can use exterior screws, but you can also use drywall screws as they’re a bit cheaper. You’ll need a Miter saw or a handsaw, drill driver, and drill bit, tape measure, speed square or ruler, a pencil and then of course, the screws. Now you’re only going to need one, 2×4 to create the base. Because they’re about 96 inches, we’re gonna make them 18 inches wide and then have 24 inch feet.
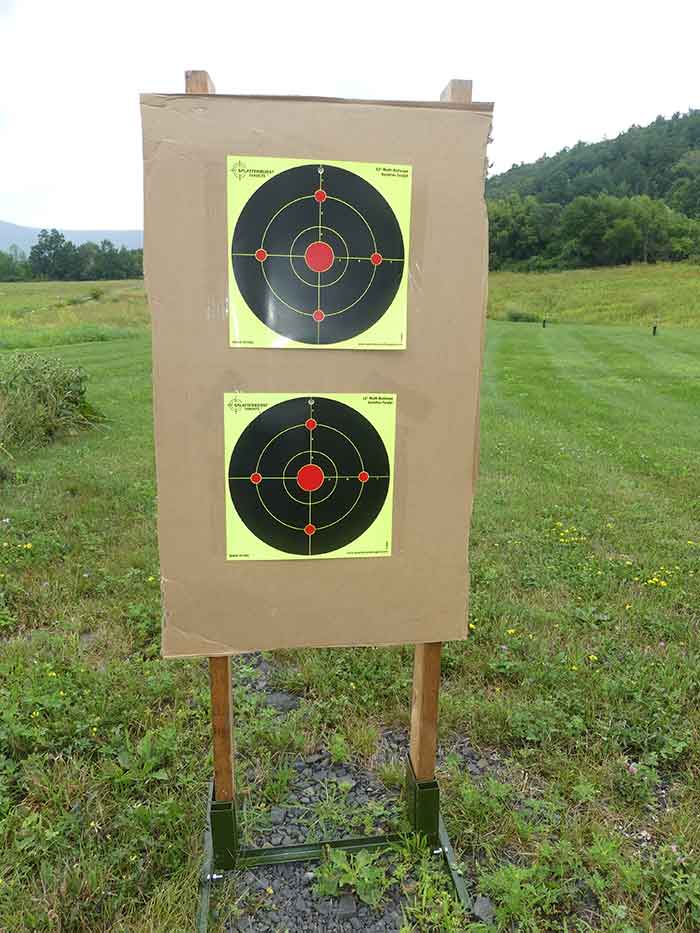
Most targets like the IPSIC ones or the NRA D1 targets are 18 inches wide so this is the size we’re gonna make our target stand as far as width goes. We’re gonna cut out 2 18 inch long pieces. These are the more precise pieces so try to cut them is as close to 18 inches as you possibly can. One mistake you want to avoid is measuring and marking every 18 inches or every 24 inches and then cutting them all at once. Mark and cut it and then mark it again. The saw blade kerf is going to take up some of that space so don’t just mark everything on the board at once and then expect to cut them all and have them actually be the same size.
You should have two perfectly even 18 inch pieces that’ll make up the width of your target stand. Now you’re going to want to cut 2 24 inch pieces from that same 2×4. These don’t have to be as precise so you can just quickly mark it and then cut it. It doesn’t matter if they’re exactly 24 inches as these are just the feet, so they’ll keep the target stand standing. Don’t worry about making them super precise. Now that you have your two 18 inch pieces as well as your 2 24 inch pieces you take your 2×3 post and measure 3 1/2 inches. We’re going to use this 3 ½” piece as our spacer so you’re gonna want to cut one of these for each of your targets stand pieces. These don’t have to be super precise either, just try to get them as close to 3 ½” as possible.
If you’re making several of these target stands, for each target stand, you have two 18 inch pieces 2 24” pieces, 2 3 1/2” pieces and then you have the posts and they’ve all had 3 1/2 inches taken off of them.
Have the 24 inch sections and then the 18 inch pieces sandwiched in the middle. Start by marking the center of the outside feet. They are 24 inches and the center will be 12 inches. Make little marks and then draw a line to make it easier to kind of line things up. You have to add those spacers so this will kind of help you figure out exactly where those are going to go. You want to put one on each side just for now. So put your square against the center line and then I mark 1/4 inch out off each side and then create lines so these will line up exactly with that center piece. You can use the good old eyeball method, but if you want to be super precise, you’re more than welcome to do that. Now line this all up and start by pre drilling it. If you have clamps they will really come in handy. It will make it a lot easier to hold things steady and pre-drill a couple holes on that first board and then I like to put one screw in. Just to kind of help keep things steady 2 screws on each side of each board is going to be sufficient to hold this thing together, and they don’t have to be perfectly straight or perfectly lined up just good enough.
Now that the block is screwed on, we’re gonna have to put in the channels for the target stands themselves. Take an extra little piece of that 2×3 and sandwich a section of it between the post that you cut earlier. Put two screws on one side and one screw in the center on the other side, 3 is more than enough to hold this piece in place. Now you want to keep it nice and tight. The tighter you can get that block, the less your target stands are gonna wobble during the wind or after shooting them, so try to get it nice and tight and things will stay together real good. Now test fit the posts to see if they fit nice and snug, which is what you want. You can always bring a mallet to the range if you need to tap them in.
You may want to use stands as high as 6 feet and then one as a 5 foot stand or a slightly shorter stand for shooting up closer but you’ll want to keep in mind how high your berm is at your local range are and you want to make sure that you don’t place the target so high that you’re shooting over the berm.
You may find this project interesting, but it can still be a first class pain. A fellow target shooter who does a lot of IPSIC http://www.ipsc.org/ipsc/ and IDPA https://www.idpa.com/ shooting on NRA targets bought some Hyskore® www.hyskore.com 30291 Target Hound® target stands https://hyskore.com/products/30291-target-hound/ that holds both 2×4’s and 1×2’s, sets up in a minute, and cost less than $40.00 at the NRA store https://nrastore.com/. Clearly, they are the way to go.
No Comment